top of page

Lee Robinson (Robinson Photography)
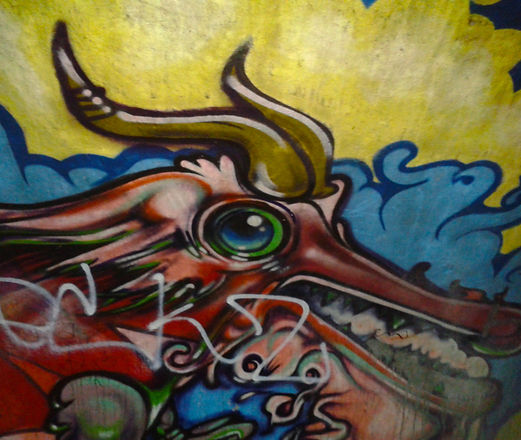
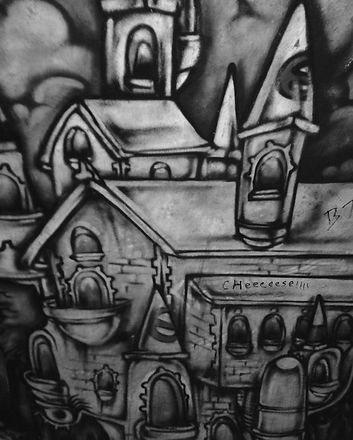
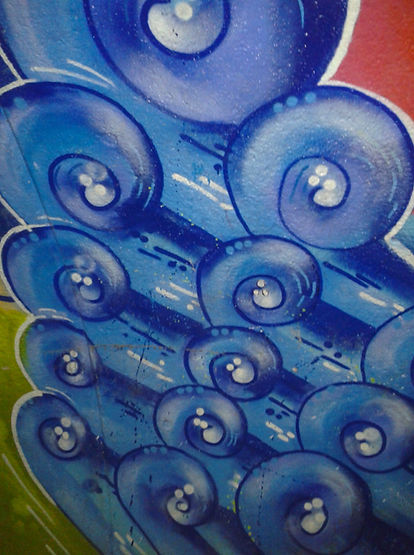
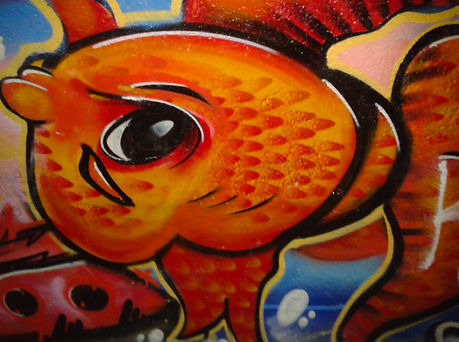
Urban Textures - Shoot 1


Urban Textures - Edit Screenshots
 SC20140926-095002.png |
|---|
 SC20140926-095031.png |
 SC20140926-095057.png |
 SC20140926-095328.png |
 SC20140926-095236.png |
 SC20140926-095349.png |
 SC20140926-102131.png |
 SC20140926-102151.png |
 SC20140926-102823.png |
 SC20140926-102850.png |
 SC20140926-103212.png |
 SC20140926-103407.png |
 SC20140926-103434.png |
 SC20140926-103915.png |
 SC20140926-104121.png |
 SC20140926-104308.png |
 SC20140926-104652.png |
 SC20140926-104837.png |
 SC20140926-104852.png |
 SC20140926-105311.png |
 SC20140926-105423.png |
 SC20140926-105442.png |
 SC20140926-105633.png |
What edits did I use and why?
To edit my Urban Texture photographs, I used the photo editing app Avairy, using mainly edits such as blur, colour splash and saturation. I blurred everything in the images other than the element of the picture I wanted to stand out to me, I also did this with the colour splash tool, making a certain part of the image stand out, this is to draw people viewing this image towards that speciffic area.
I would compare my images to those of Lucy Shires, Lucy like to focus on one speciffic part of her Urban images and really makes the colour stand out.
Urban Textures - Shoot 2


Robinson Photography
Lee Robinson
bottom of page